“Discover the timeless charm of craft paper – a versatile and eco-friendly material that inspires creativity. Unleash your imagination and craft unique projects with this rustic, textured paper, perfect for a wide range of artistic endeavors.”
Introduction:
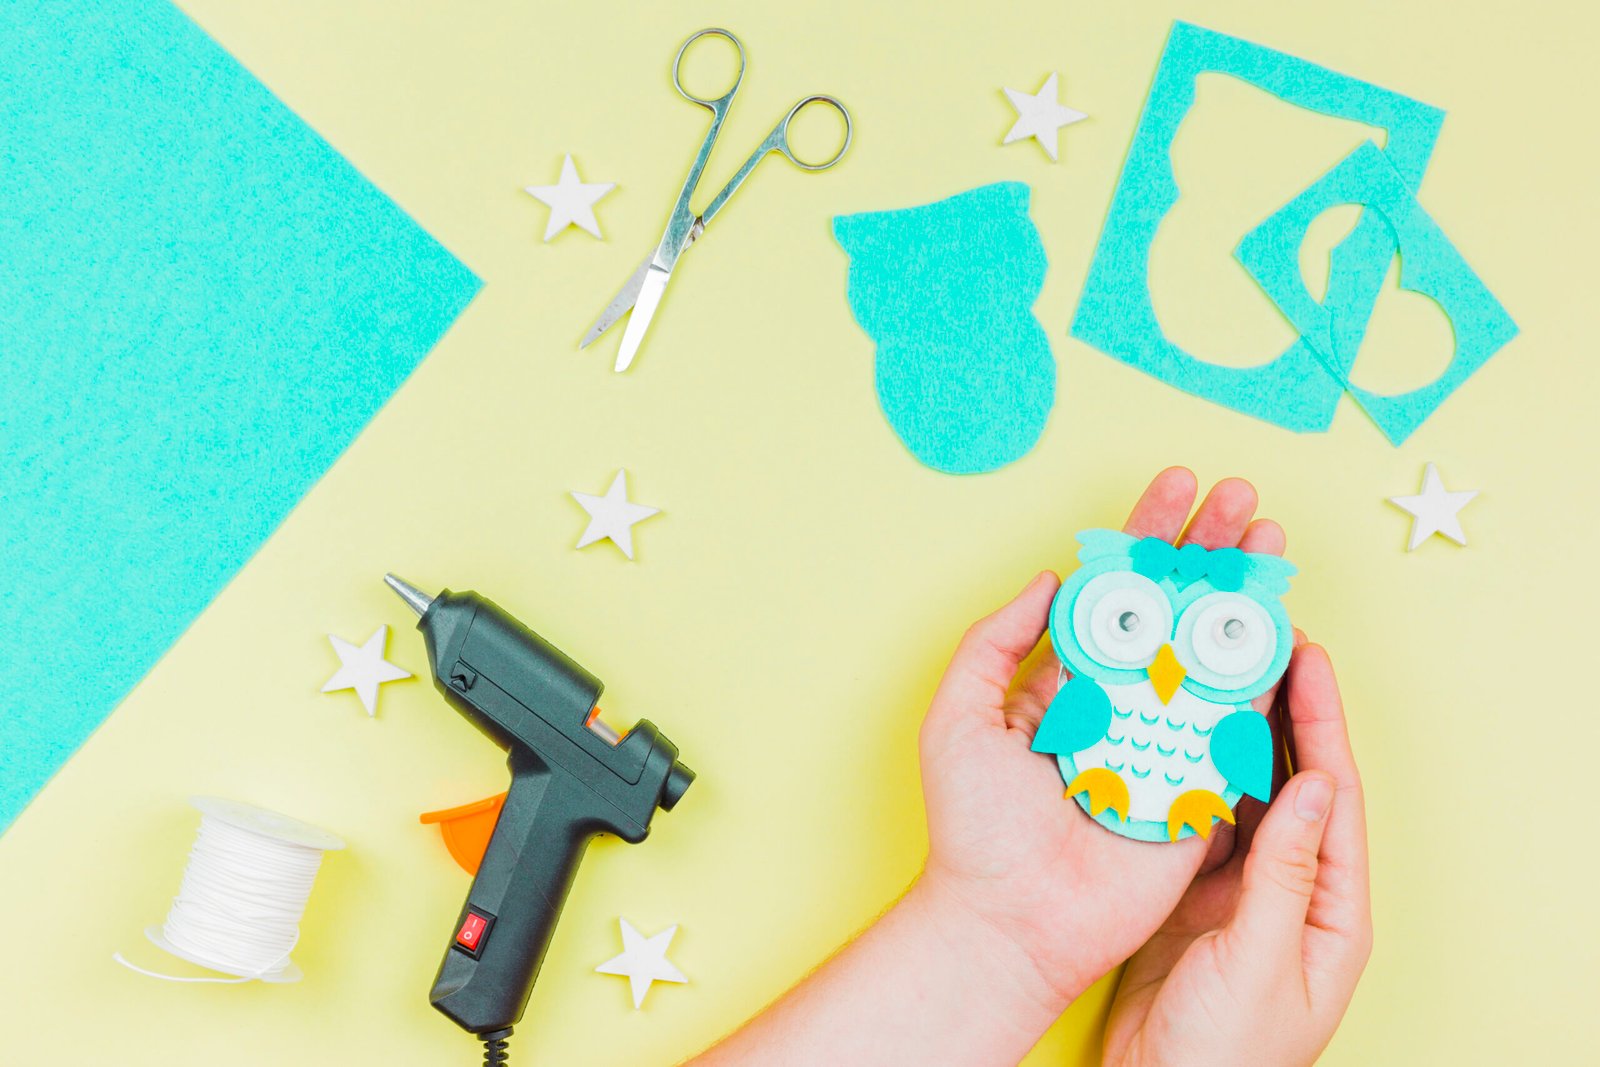
Craft paper is a versatile and affordable material that holds endless possibilities for unleashing your creativity. Whether you’re a seasoned crafter or a beginner looking for inspiration, this article will delve into the captivating realm of craft paper, offering a myriad of ideas to ignite your imagination. So, grab your scissors, glue, and, of course, some craft paper, as we embark on a journey of artistic exploration.
- Handmade Greeting Cards: Craft paper is perfect for creating unique and personalized greeting cards. Cut out various shapes, like hearts, flowers, or balloons, and layer them onto a cardstock base. Add embellishments, such as ribbons, buttons, or sequins, to make your cards truly special. Write heartfelt messages inside, and voila! You have a heartfelt creation ready to be shared with loved ones.
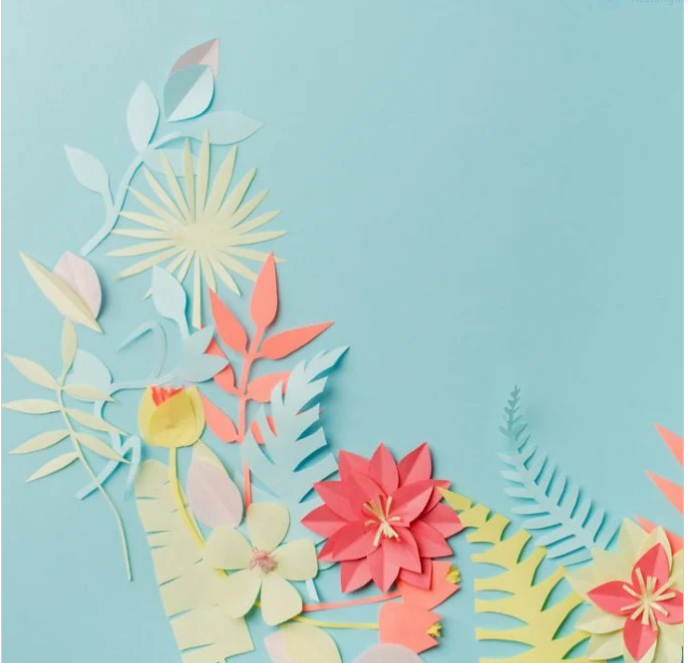
- Paper Flowers: C paper blooms add a touch of whimsy to any occasion. Experiment with different colors and textures to create vibrant floral arrangements. Templates are readily available online to guide you through the folding and shaping process. Arrange your paper flowers in a vase, use them as gift toppers, or create a stunning backdrop for events like weddings or parties.
- Scrapbooking Delights: C paper is a staple in the world of scrapbooking. It serves as the canvas for preserving memories in a visually appealing way. Cut out frames, borders, and shapes from craft paper to highlight your photos. Use it as a background for journaling or as a base for layering different elements. The possibilities are endless, and with craft paper, your scrapbook pages will come to life.
- Decorative Banners and Garlands: C paper is an excellent choice for creating charming banners and garlands. Cut out triangles, circles, or even intricate shapes, and string them together with twine or ribbon. Personalize them with names, messages, or meaningful quotes to add a personal touch. Hang them across walls, mantels, or party venues for a festive atmosphere.
- Paper Quilling: Quilling is the art of rolling and shaping thin strips of paper into intricate designs. Cr paper comes in various colors, making it an excellent choice for this art form. Experiment with different shapes and create stunning designs like flowers, animals, or abstract patterns. Frame your quilled creations or use them to adorn handmade cards and gifts.
- Gift Wrapping and Tags with : Elevate your gift-giving game by using craft paper for wrapping and creating unique gift tags. Wrap your presents in craft paper, and embellish them with colorful ribbons, twine, or dried flowers. Cut out decorative gift tags from craft paper, and write personalized messages to add an extra special touch.
Designing with craft paper offers a wide range of creative possibilities. Here’s a step-by-step guide on how to make a simple yet beautiful design using craft paper:
Materials Needed :
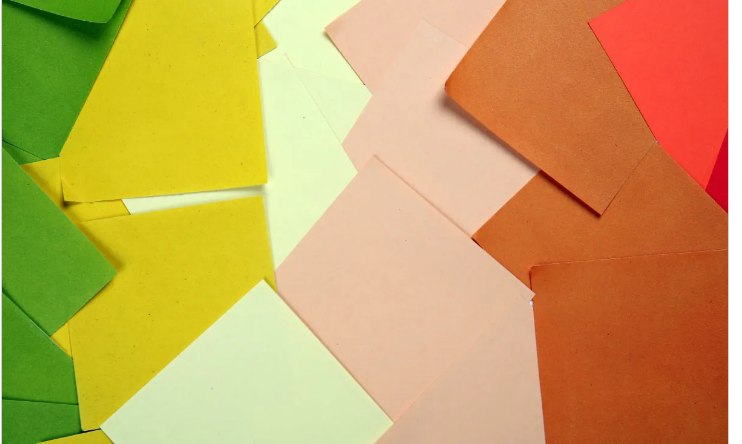
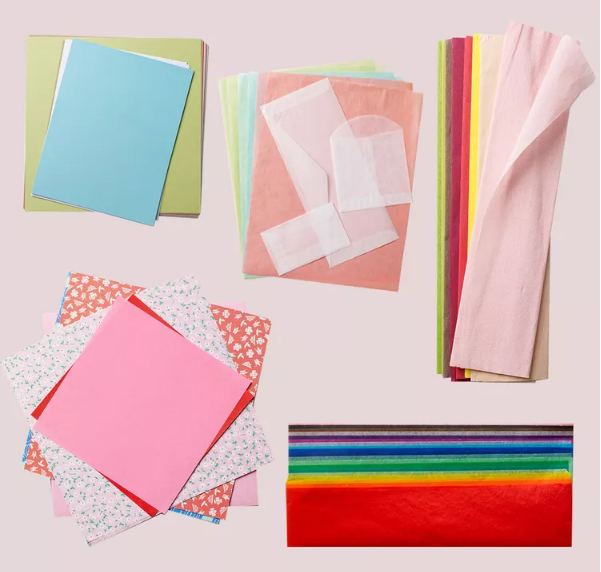
- Craft paper of various colors and textures
- Scissors
- Glue or adhesive tape
- Pencil
- Ruler
- Optional: Markers, pens, or other embellishments
Step 1: Choose a Design Concept for craft paper
Decide on the type of design you want to create. It could be a card, wall art, a decorative item, or anything else that sparks your imagination. Having a clear idea will guide you through the process.
Step 2: Prepare Your C Paper
Select the colors and textures of craft paper that match your design concept. Consider the desired shapes, patterns, and sizes you’ll need for your craft paper design. Gather all the materials on a clean and spacious workspace.
Step 3: Sketch and Measure
Using a pencil and ruler, sketch out the basic outline of your design on the craft paper. This step will help you visualize the final result and ensure precise measurements. Make any adjustments or refinements to the sketch as needed.
Step 4: Cut Out the Shapes of C paper
Carefully cut out the shapes and elements from the craft paper, following your sketched outlines. Use scissors with a sharp, pointed tip for intricate cuts. Take your time and be precise to achieve clean edges and a polished appearance.
Step 5: Arrange and Layer
Lay out your cut-out shapes and elements on your workspace. Experiment with different arrangements and layering techniques to find a composition that pleases your eye. Play with colors, shapes, and sizes to create depth and visual interest.
Step 6: Adhere the Pieces
Once you’re satisfied with the arrangement, start adhering the craft paper pieces together. Use glue or adhesive tape to attach the elements securely. Take care to apply the adhesive to the backside or hidden areas of the cut-outs, ensuring it doesn’t show through.
Step 7: Add Personal Touches
If desired, use markers, pens, or other embellishments to add details, highlights, or additional designs to your craft paper creation. These additional touches can enhance the overall look and make your craft paper design truly unique.
Step 8: Finalize and Display
Inspect your craft paper design to ensure everything is securely attached and visually appealing. Trim any excess paper or make any final adjustments. Once satisfied, find a suitable way to display your craft paper design, such as framing it, attaching it to a card or gift, or incorporating it into a larger project.
Remember, this is just a basic guide, and the possibilities with craft paper are vast. Feel free to experiment, combine different techniques, and let your creativity guide you. Designing with craft paper offers an opportunity to create personalized, handmade masterpieces that reflect your unique style and imagination.
More paper ideas – click now
Craft paper opens up a world of creative possibilities, making it an essential item in any crafter’s toolkit. From handmade greeting cards to intricate paper quilling designs, there’s no limit to what you can create with this versatile material. Let your imagination soar, and explore the endless craft paper ideas to add a personalized touch to your creations. So, dive in, embrace your inner artist, and let the craft paper magic unfold!
C paper is a versatile material that offers endless possibilities for creativity. Here are some tips and tricks to help you make the most of your craft paper projects:
- Choose the Right :
Select craft paper that suits your project. Consider factors like color, texture, weight, and pattern. Experiment with different types of craft paper, such as solid colors, patterned paper, textured paper, or even specialty papers like metallic or glitter paper, to add visual interest to your designs.
- Plan and Sketch:
Before diving into a project, take a moment to plan and sketch your design. Visualize how you want your finished piece to look, and sketch out the basic layout and shapes. Planning ahead will help you stay organized and ensure a smoother crafting process.
- Utilize Templates:
If you’re creating specific shapes or designs, use templates. Templates provide precise outlines, making it easier to cut and shape your craft paper accurately. You can find templates online or create your own by tracing or printing shapes onto cardstock or sturdy paper.
- Explore Paper Folding Techniques:
Cr paper is excellent for origami and paper folding techniques. Learn a few basic folding techniques like accordion folds, pleats, or origami folds to create interesting textures and structures. These techniques can be used for decorations, embellishments, or even standalone paper art pieces.
- Mix and Match Colors:
Experiment with color combinations to make your craft paper designs visually striking. Consider complementary colors, contrasting colors, or monochromatic schemes to create impact and harmony. Use color theory principles to guide your choices and evoke the desired mood or theme.
- Use Adhesive Wisely:
When adhering craft paper pieces together, use glue or adhesive tape strategically. Apply adhesive sparingly and focus on the edges or hidden areas of the cut-outs to avoid visible glue marks. Consider using glue sticks, double-sided tape, or glue dots for a clean and precise application.
- Incorporate Texture:
Add texture to your craft paper projects for a tactile and dimensional appeal. Experiment with techniques like paper crumpling, distressing, embossing, or adding layers of tissue paper or fabric to create texture. Texture can add depth and visual interest to your designs.
- Explore Mixed Media:
Combine craft paper with other materials to create mixed media projects. Incorporate elements like ribbon, fabric, buttons, beads, feathers, or found objects to add a unique touch to your craft paper creations. The combination of different textures and materials can make your designs stand out.
- Save Scraps and Leftovers:
Don’t discard small scraps or leftover pieces of paper. They can be utilized for various purposes, such as creating collages, mosaic-style designs, or small embellishments. Keep a scrap paper collection organized by color or size, making it easier to find the perfect piece for future projects.
- Practice Patience and Precision:
Craft paper projects often require careful attention to detail. Take your time, especially when cutting intricate shapes or working on delicate designs. Use sharp scissors or craft knives for clean cuts, and consider using a cutting mat to protect your work surface and ensure accuracy.
Remember, the most important tip is to have fun and let your creativity flow. paper offers a world of possibilities, so don’t be afraid to experiment, try new techniques, and create unique designs that showcase your artistic style. Happy crafting!